

Pattern:
Bobbins: 8 pairs + 2 gimps
Style: Bucks Point
Stitches:
half stitch and twist
twist
gimp
Details:
Bucks Point net (grey)
gimp footside (grey)
Description:
Follow the links above for explanation of how to work the different parts of the lace.
Bucks Point is made on a different grid to Torchon. See the fans pattern for more about this. However, while working the lace, ignore this, and just work it in rows as before.
This is a simple piece of Bucks Point net. Net is another word for ground, the more open parts of lace. Bucks Point lace has several differences from Torchon ground. There is a different stitch, half stitch and a number of twists (I suggest 2). This "messes up" the pairs, so you cannot rely on checking that pairs are in order in Bucks Point. (A bit irritating, but inevitable!) Also, the pin in Bucks Point net is left open - that is, you do the whole stitch before putting in the pin (rather than doing part of the stitch after the pin). That means that the stitch rests on top of the pin.
Bucks Point net threads seem to go in rather odd directions. Torchon ground pairs go from one pin to the next pin diagonally below it. Bucks Point threads split from their pairs, and are not so obvious in direction. Once you tighten them and do several rows, you will see that they make little hexagons, which is rather attractive.
These Bucks Point samplers run a gimp round the outside, instead of using a more conventional footside. If you had no footside or gimp round the edge, this sampler would be rather floppy.
I think I've made a mistake in one place, looking at the close-up below!
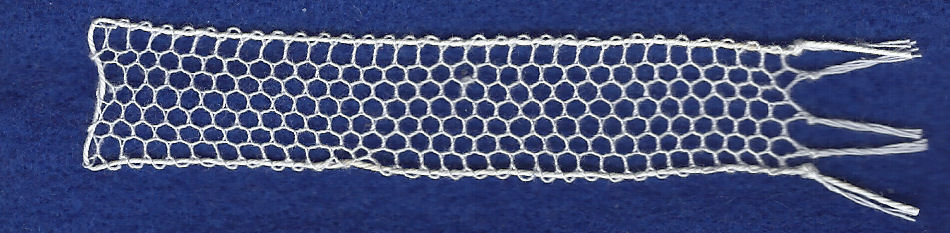
Close up of the lace, so you can see the working in more detail
© Jo Edkins 2016 - return to lace index