
Pattern:

Bobbins: 20 pairs
Style: Torchon
Stitches:
half stitch
cloth stitch
cloth stitch and twist
plait
twist pair
Details:
cloth strip (red)
half stitch triangle (blue)
cloth stitch triangle (red)
Torchon ground (grey)
rose ground (green)
16 legged spider (yellow)
twisted footside (grey)
corners
how to start and finish
Description:
Follow the links above for explanation of how to work the different parts of the lace.
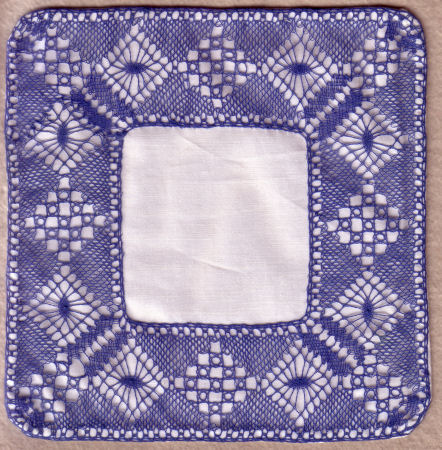
This is a square mat with a hole in the centre, in other words, an edge. It is made up of straight pieces of lace (with diagonal starts and ends).

The start is along a diagonal, so one pair starts at each pin, and two at the edge. Usually, I mark the position of the false pins. However, there is a problem with this particular pattern. There are stitches which cross the diagonal start line, in the rose ground. So here the marked start should be the true start, not false pins. Hang the bobbins from them to start, but do not remove the pins to pull the threads through! That means that the end of the lace could be a little tricky, as you will need these pin holes again.
Click here for how to finish a mat. When you get to the end, remove the first row of pins, work the last row of pins (which use the same pin holes) then tie off as usual.
Click here to see how to sew the lace onto fabric. I have sewn the fabric as a backing to the lace, rather than the lace trimming the fabric.
© Jo Edkins 2017 - return to lace index