
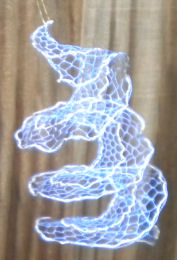
This could be used as a Christmas tree decoration. Click here for more Christmas decorations.
Pattern:
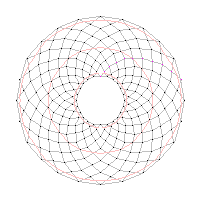
Bobbins: 15 pairs (12 blue, 3 gold)
Style: Bucks Point
Stitches:
half stitch
twist pair
gimp (red)
Details:
Bucks Point (grey)
twisted footside
how to work a roundel
how to work a helix
Description:
Follow the links above for explanation of how to work the different parts of the lace.
A normal Bucks Point gound stitch is CTTT, pin (or half stitch plus 2 twists). I was using very fine blue thread. The edge of the roundel has the pins widely spaced, so I did CTTTTT (or half stitch and 4 twists). The outer footside has extra twists as well. However, the inner part of the roundel has the pins closer together, so I did ordinary Bucks Point ground stitches.
The gold pairs are the passives in the footside, plus a pair treated as a gimp in the centre. This gimp goes across the points where you work a stitch in Bucks Point. So I took one gold thread through one blue pair as a gimp, then did the same for the other gold thread, and the other blue pair. I worked both blue pairs as a half stitch, then took the gold thread back again, as gimps. That means that the gold pair are now together again, so I twisted them 5 times to keep them together before the next stitch.
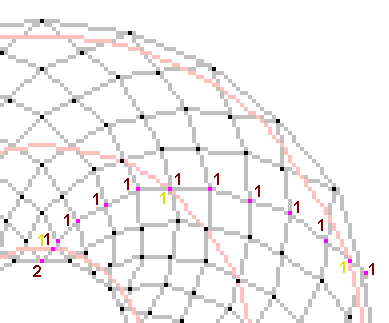
The start is along a diagonal, so one pair starts at each pin. Above, I have marked where the pairs actually start. Use pinholes above for false pins if you wish. In fact, I took one gold pair across the top, across all blue pairs, to strengthen the start. That is optional.
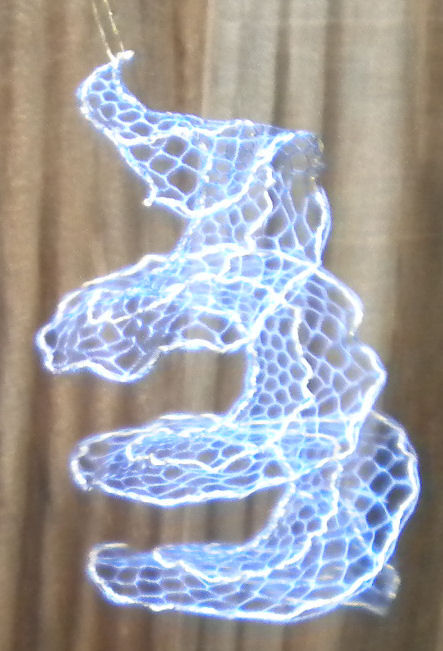
I'm not sure sure that Bucks Point ground is as effective as Torchon ground for this type of thing. In particular, I didn't tighten the gold passives enough for the footside at the start, so that made it a bit coggly.
The pattern is very simple. The point is that the gold lines (footside passives and the central one) make twizzling spirals as the helix rotates. It does work!
© Jo Edkins 2022 - return to lace index